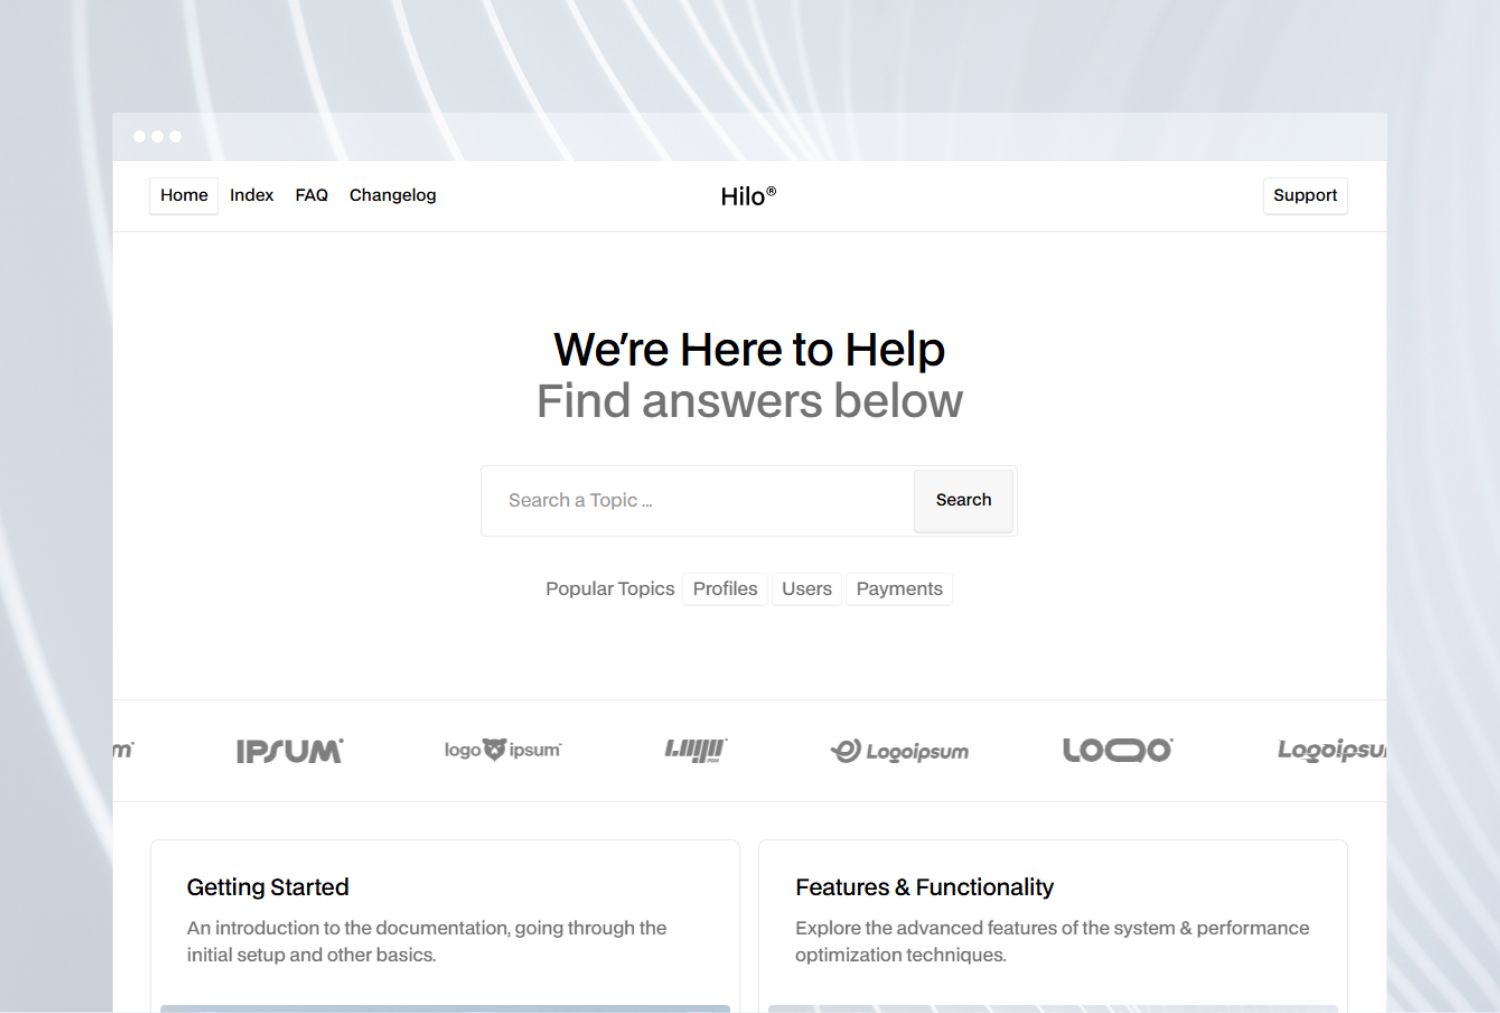
Understanding Your Dashboard
A walkthrough of the main dashboard interface and what each section does.

How to Get Started
Setting up your account and getting started only takes a few minutes. Follow these simple steps to begin using the platform confidently.
1. Create an Account
Click Sign Up on the homepage and enter your basic details. You can use your email or sign up with a third-party provider if available. Once you confirm your email, you’ll gain access to your dashboard.
2. Explore the Dashboard
Your dashboard is where you’ll manage everything — projects, settings, and integrations. Take a moment to click through the menus to get familiar with where things are located.
3. Customize Your Settings
Visit the Settings section to personalize your experience. Update your profile photo, manage notifications, and adjust workspace preferences. Small changes here can help you stay organized as your work grows.
Here are a few settings you might want to adjust right away:
- Profile Information: Add your name, photo, and a short bio.
- Notifications: Choose how and when you receive updates.
- Integrations: Connect third-party tools to enhance your workflow.
4. Learn the Basics
Check out our short tutorials and guided walkthroughs available in the Help Center. These will help you understand the core features and how to use them effectively.
5. Get Support When You Need It
If you run into questions, don’t worry — you can reach out anytime through our support form. You’ll also find troubleshooting articles for common issues.
Next Steps
Once you’ve set up your account, start exploring more advanced features like team collaboration, automation tools, and integrations with other apps you use daily.

